A quick update on my future fiddle-yard.
In the last post, I showed my initial plans for a new fiddle yard at the lower level of my layout; with the upper layout (the dead-end station) staying as it it.
I went for the Kato points, and I don’t regret it. As for my modules, I had to make a compromise between keeping a module philosophy, and being able to build my yard (splitting the points zone is a hassle or plain impossible).
So I am now going from the previous situation with 4 modules: <80 cm><80 cm><80 cm><80 cm> to a compromise with one larger module: <80 cm><160 cm>< 80 cm>.
A module of 1m60 still is easy enough to transport.
Anyway, I won’t go into the details, more pictures are below.
Instead, I want to point out 2 great tips that I got from members of the community.
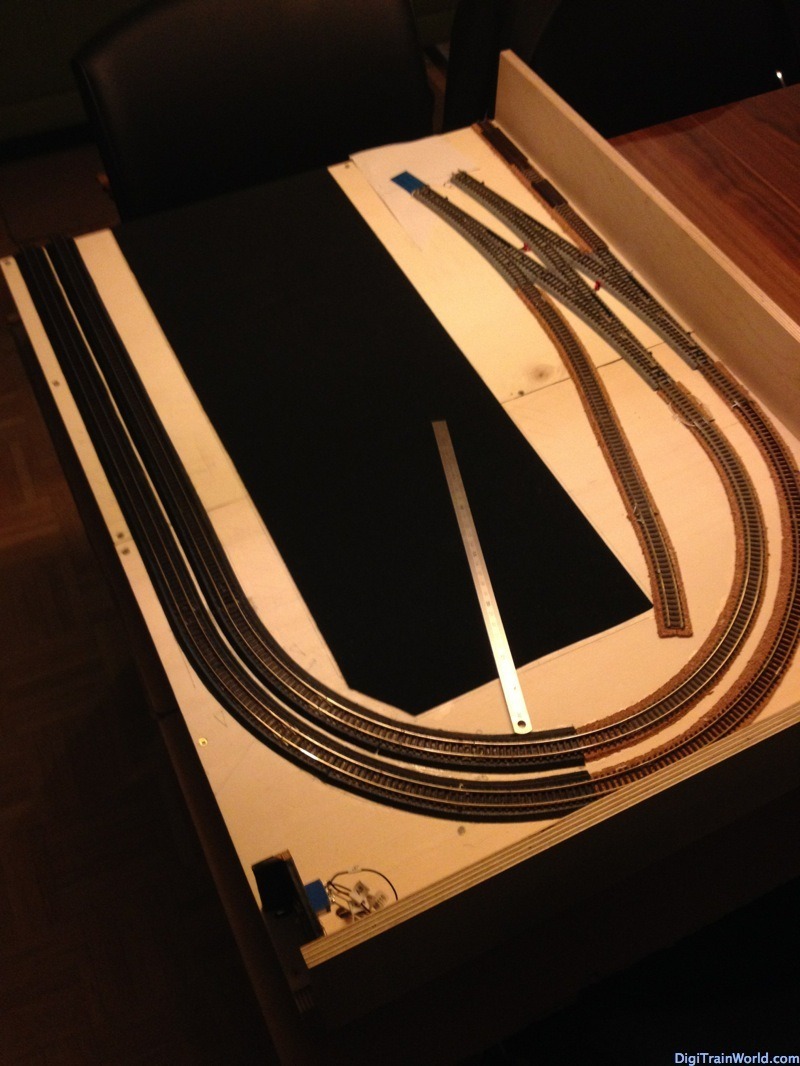
Tip 1: Trackbed
This tip I got from the excellent blog Rintiland (blog post here). Thanks to them, I discovered the trackbed from www.lokliege.de . Not only does it look good, but it’s much better than cork trackbed.
Also, they sell a 50x100mm plate, which is perfect for hidden stations…thus perfect for me. This saves a lot of time and hassle: a single pane serves for multiple tracks.
Below is the track bed, and another picture that shows the foam plate for hidden tracks. I do still use cork-bed (that I had left) for some invisible parts.
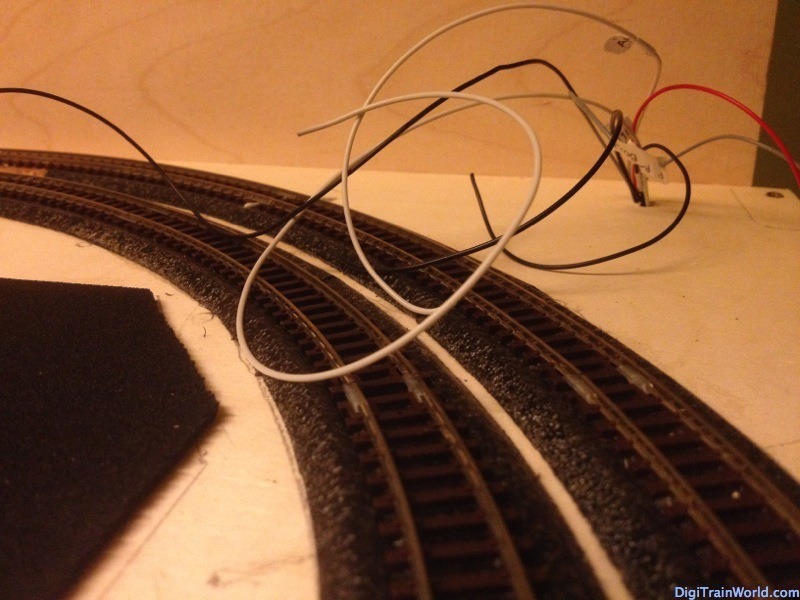
Tip 2: Cables under the layout
Cables under the layout are a mess. I had never found a good solution, until I simply asked on the French forum Le Forum du N. Two users came up with an simple, beautiful, and cheap idea: using spiral plastic binders (those we all may have used as we were students are had to bind reports).
The result is perfect. It’s clean, one can lift the spiral to insert new cables. I used hot glue to stick the binders to the layout, other users prefers staplers. Here is the work in progress:

To be continued…
Here are a few random pictures:
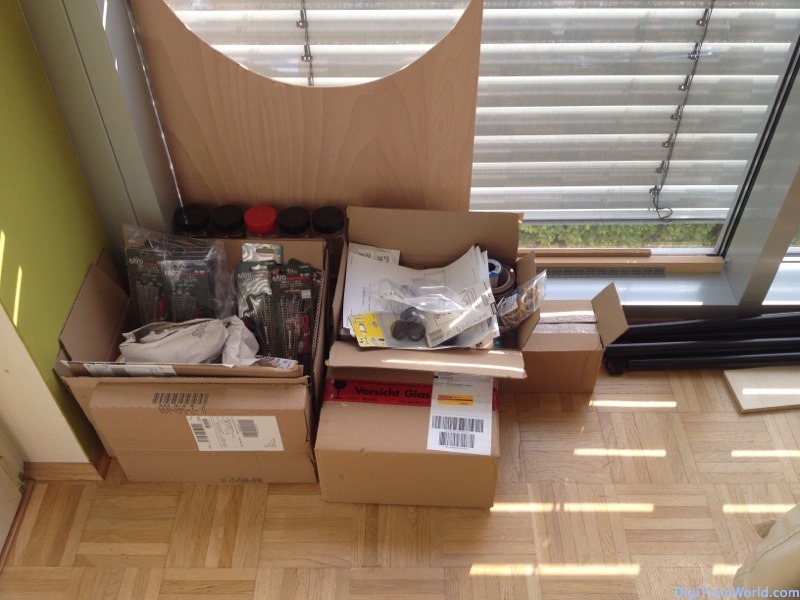
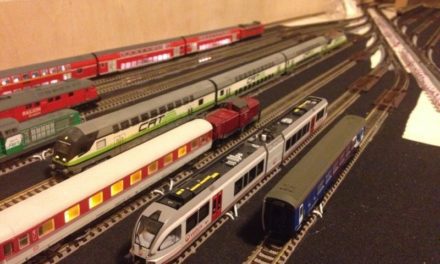
- The joys of online train-shopping:
- The module before laying the track (track plan printed using RailModeller for Mac as usual)
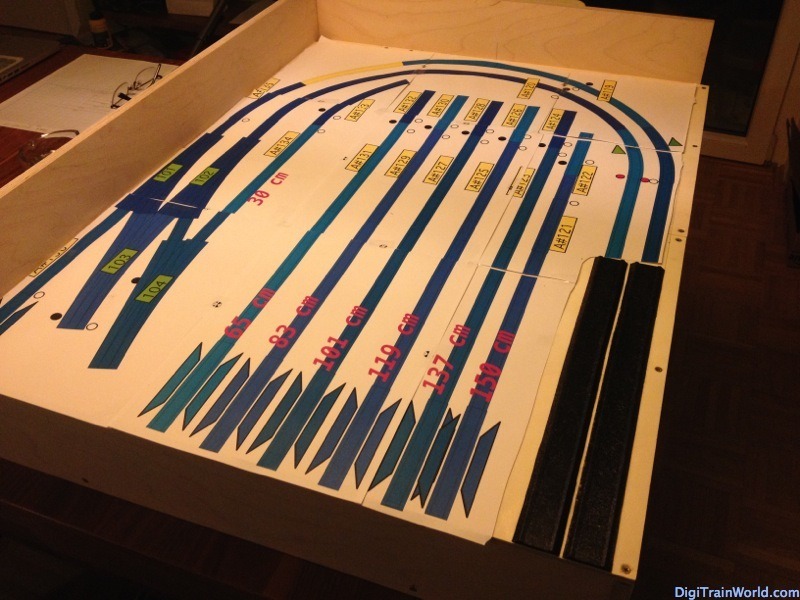
The module structure has been built from scratch. The lower level is the most complex part. As for the upper level (the visible train station that you can see here), I’ll just remove it from my old module and stick it here on top.

