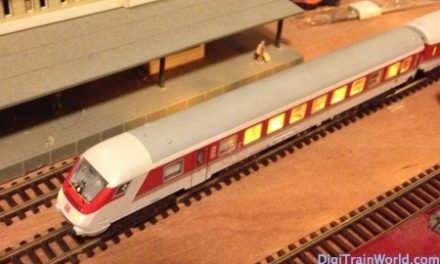
Arnold released the wonderful Henschel-Wegmann train recently. I had fun with the DIYing…
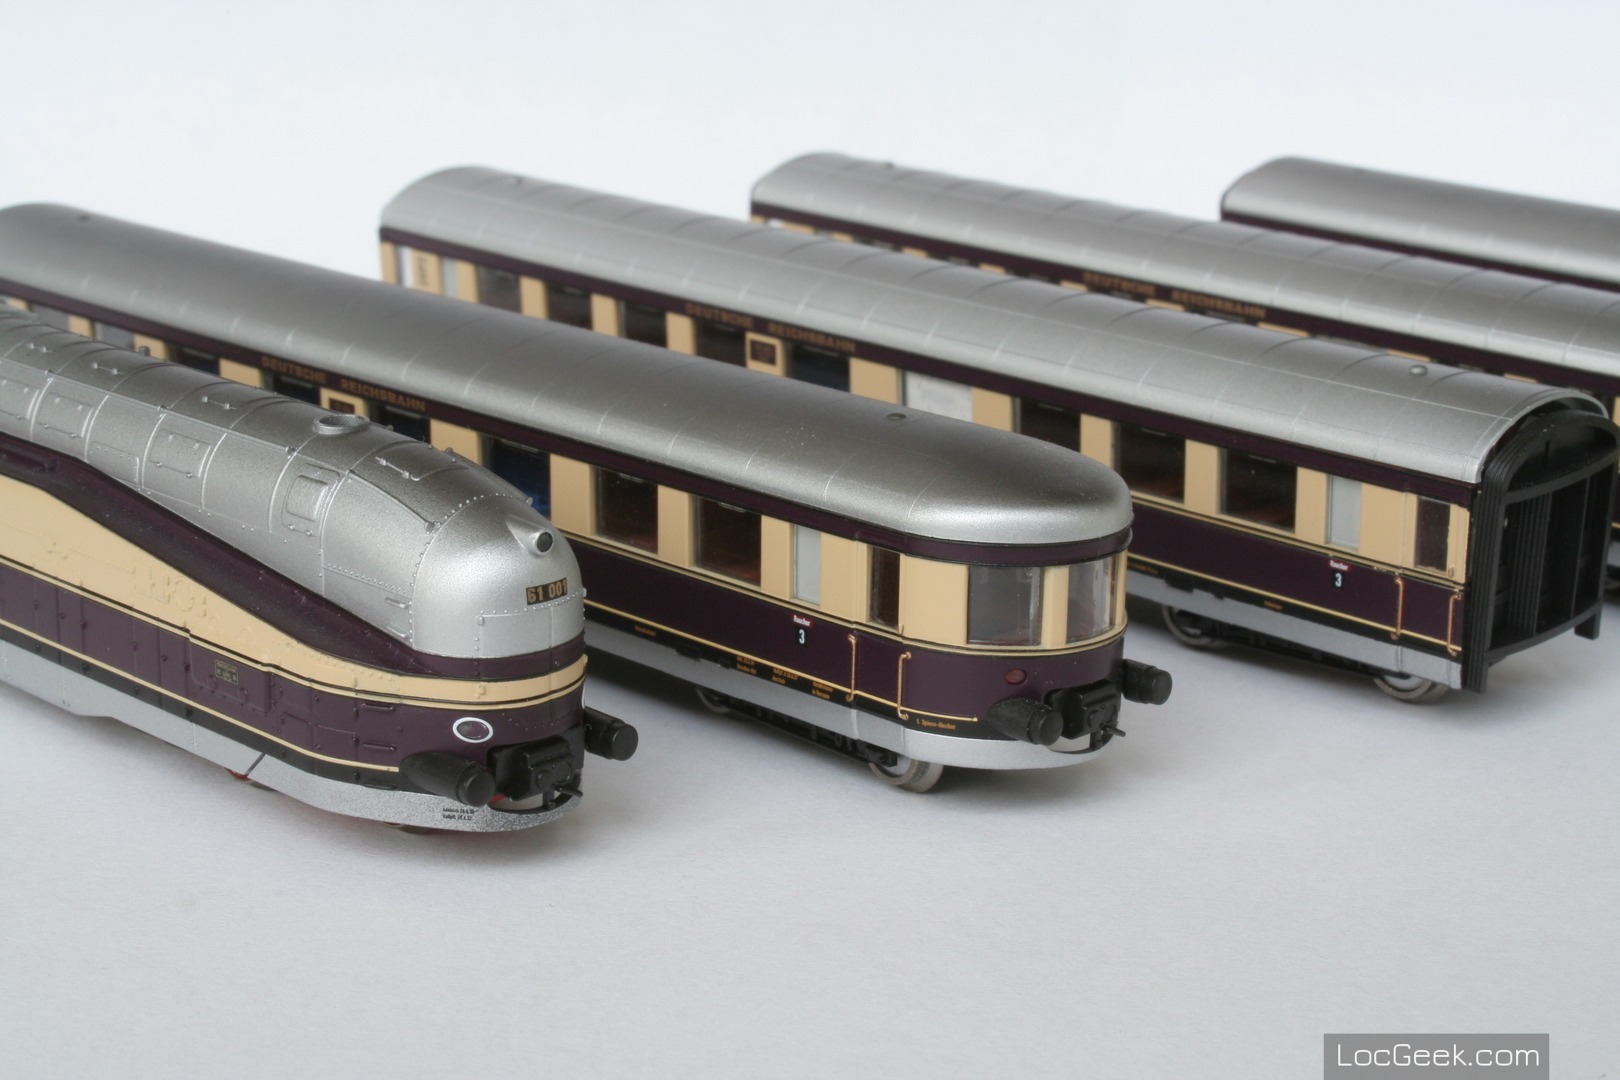
The model

The locomotive is equipped with a standard NEM651 DCC plug. The motor is actually quite noisy, but behaves well at low speeds.
The small wheels at the front and back of the engine are also all equipped with contact feeders. The locomotive has no problem in switch areas at all.
Although the model looks good, I was kind of disappointed by some technical specs.
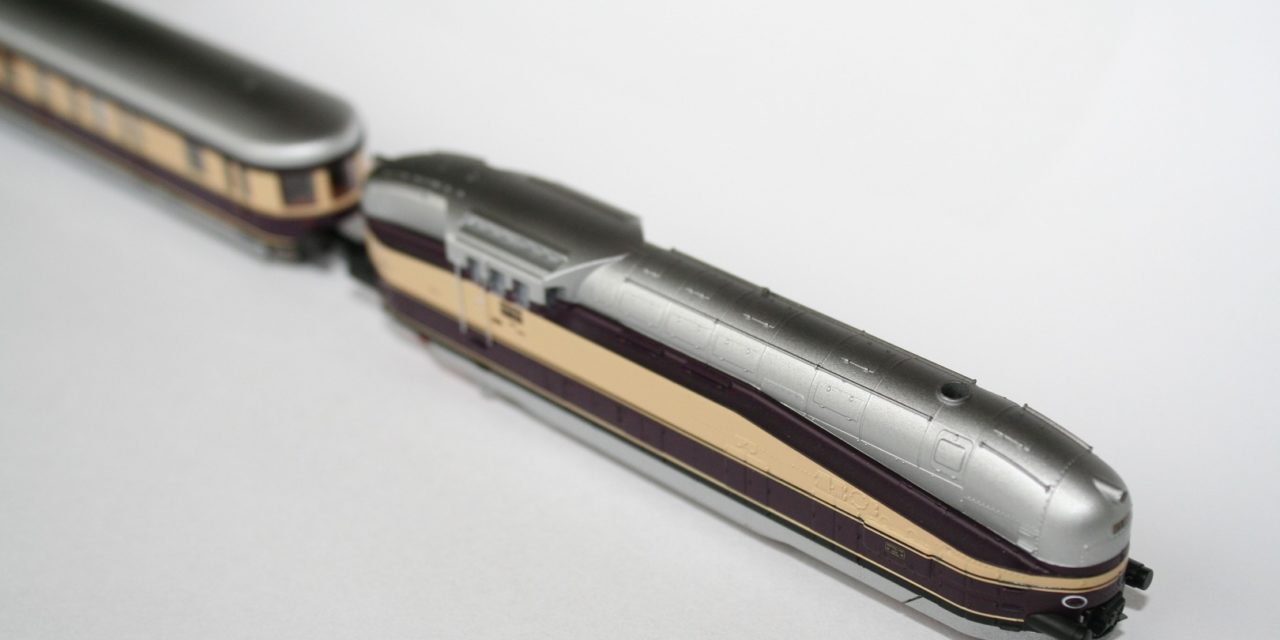
The cars have no “short coupling” mechanism. In fact, the coupling isn’t even standard. It is rather hard to attach and detach without damaging anything.
Arnold compensated with an interesting tweak: the “accordions” between the cars are pushed together by springs. The visual result, in the end, is probably actually better than with short couplings (cars nearly touching at all times).
The cars also don’t have any interior lighting (nor seem to have provision for an Arnold add-on).
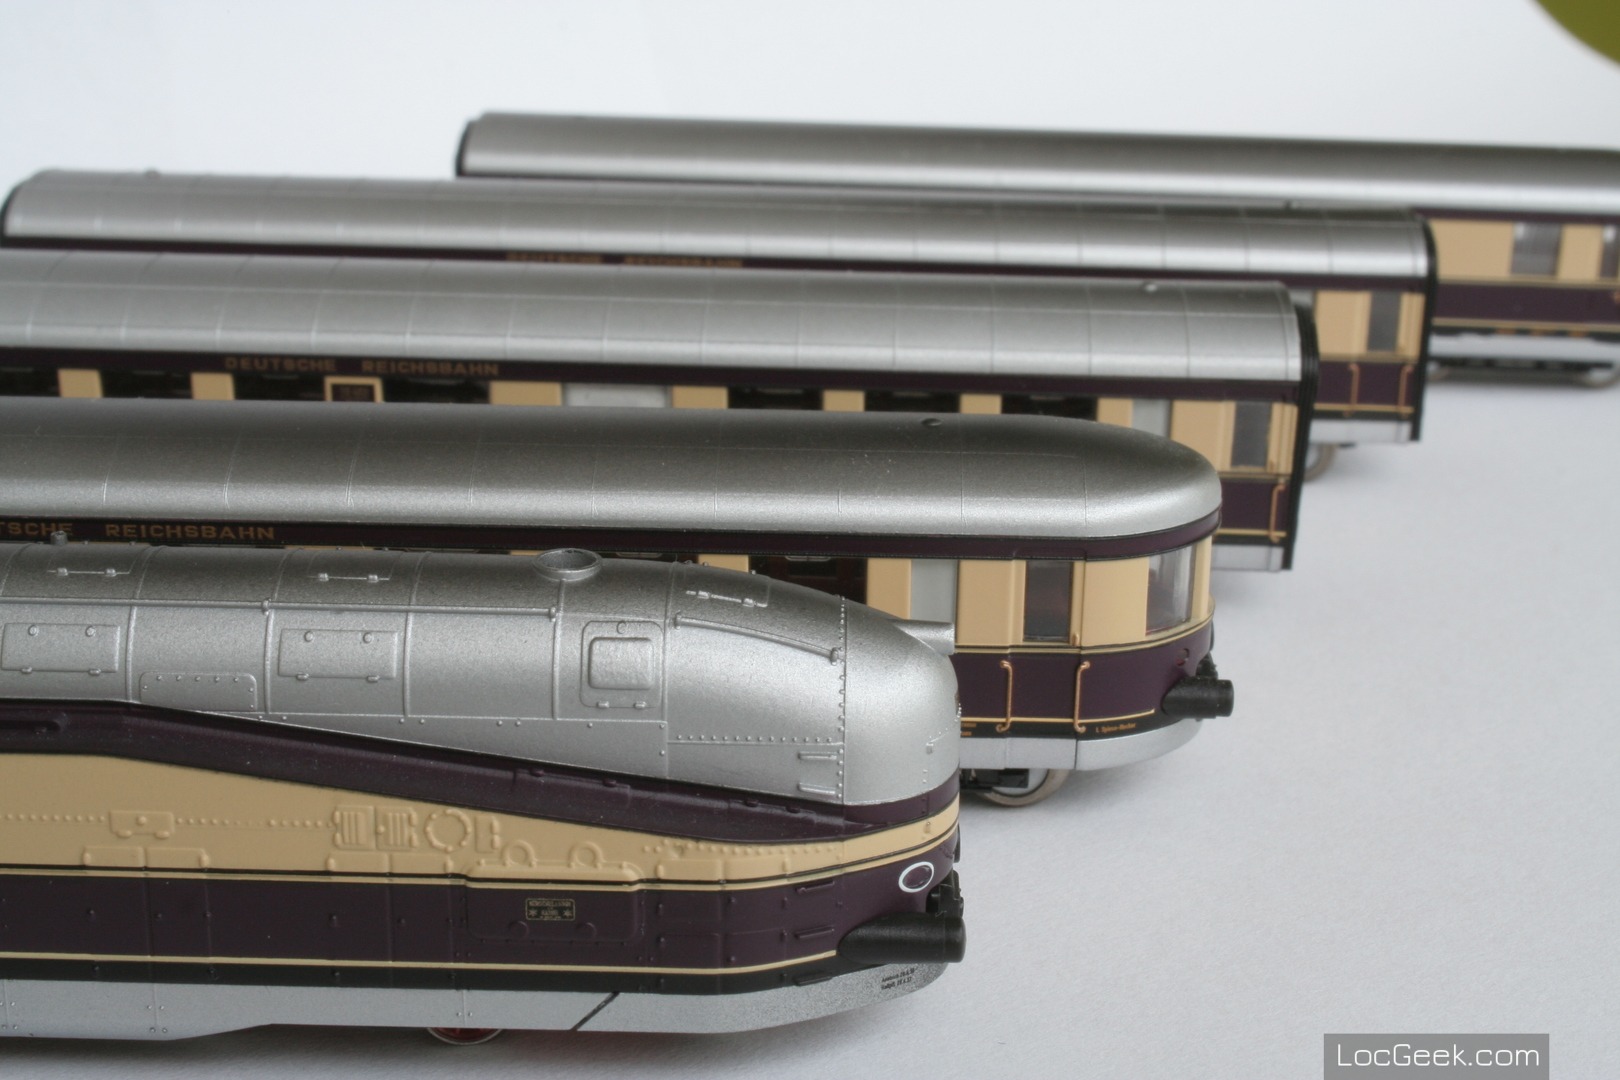
Finally, a good and a bad news: Arnold thought about people without small radiuses (R1 192mm or R2 220mm). Both the end cars and the locomotive come with extra accessories. Those have to be attached at the bottom extremities of the vehicles, to provide with a fully realistic streamlined livery.
Unfortunately those can only be attached on layouts without small radiuses. They would prevent the wheel carriages and the couplings between the cars from tilting enough. It’s good to know Arnold thought about everyone, sadly I won’t be able to install those accessories for my layout.
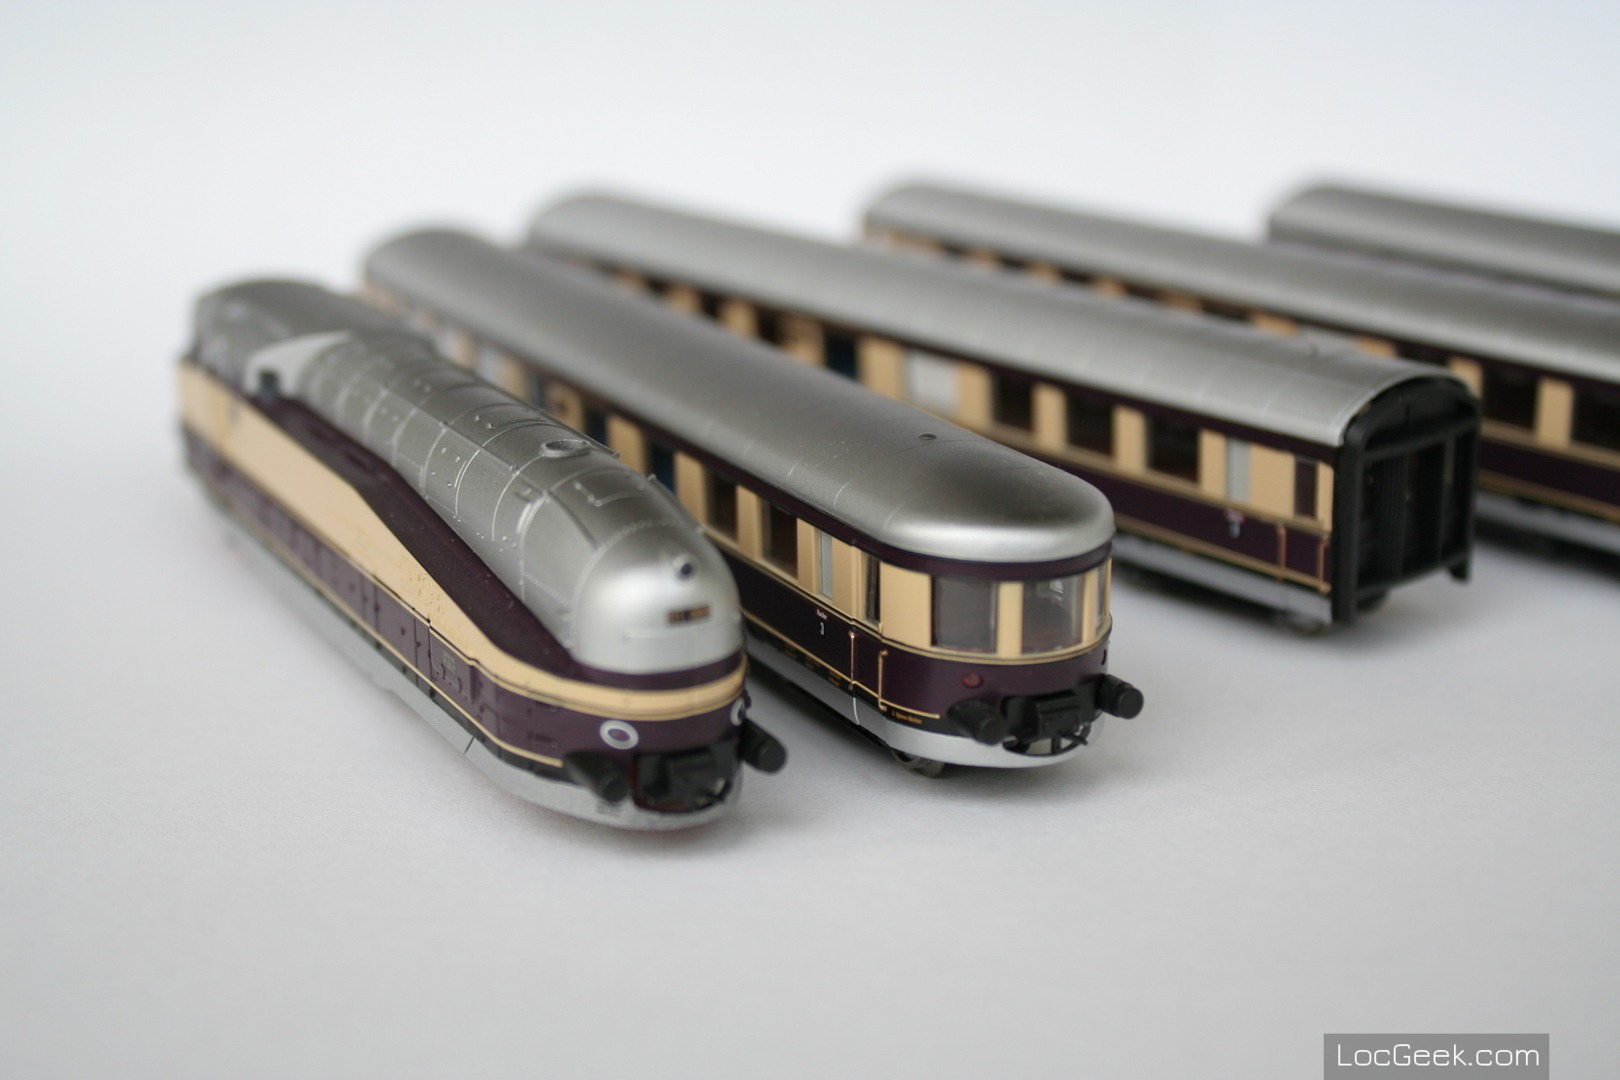
Overall, the train looks very good and it works well.
DCC conversion
I didn’t want to just plug a NEM651 decoder in the locomotive. The Henschel-Wegmann is a legendary train!
So I went overboard with the DIY, and added all this:
- Sound! (in the first car, since there was no room in locomotive).
- Cab driver lighting in the locomotive
- Interior lighting in all cars.
- Red rear lights in last car.
I also made sure the train would be 100% flicker free. Each car has extra capacitors. I installed as many as I could fit in each car without blocking the internal view of more than one window.
The only exception is the sound car, but the Deutsche Reichsbahn somehow helped. Interestingly enough, the car was divided in 2. The 1st half of the car was a travelling post office. The mail was sorted on board so it could be delivered faster when arriving in Berlin or Hamburg.
I took advantage of this (assuming the postmen didn’t work 100% of the time), and I blocked a few extra window of the 1st car to fit the decoder, the sound module and the capacitor.
My technical specs
In the end, I installed no less than 5 decoders and 1 sound module), supported by capacitors (total train capacity of 1540uF).
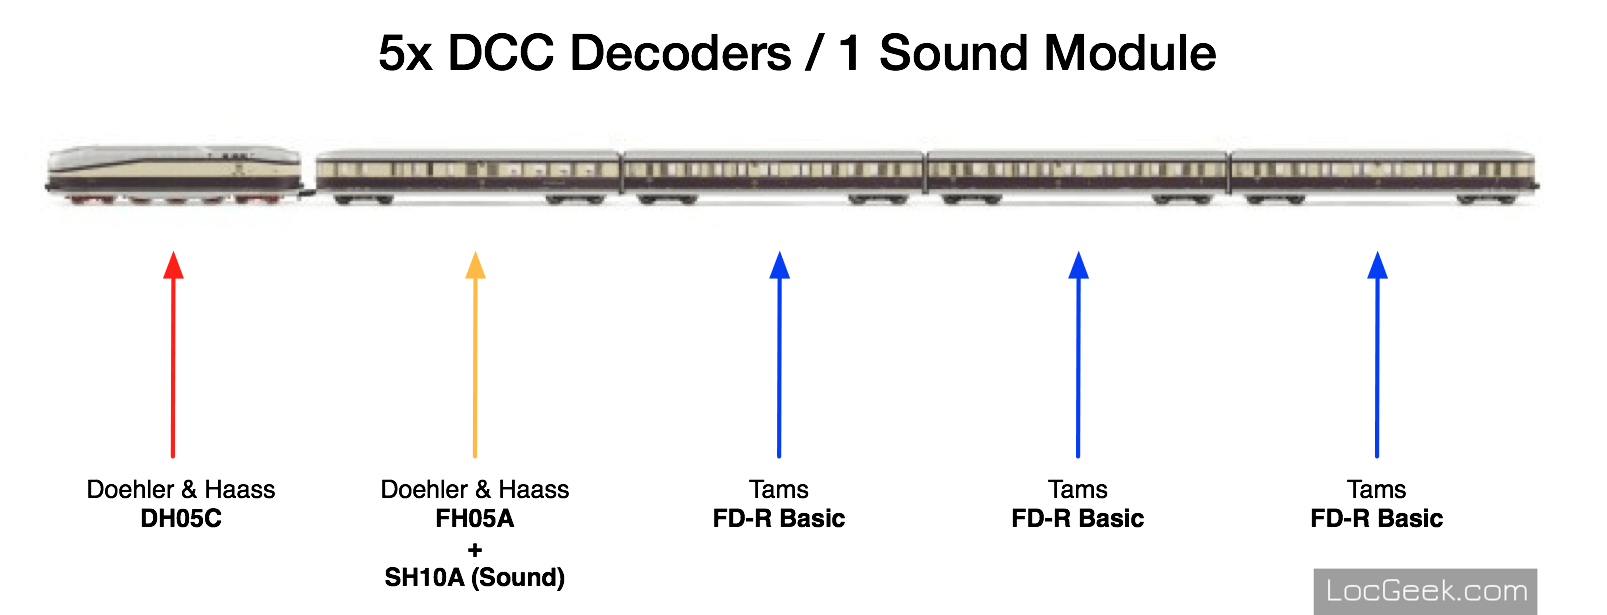
And here are the tech specs per element:
- Locomotive
DH05C Decoder (Doehler & Haass).
Extra led for cab driver lighting. - Car 1 (next to locomotive)
FH05A function decoder + SH10A sound module (Doehler & Haass).
330uF capacitor.
Custom light board with 3 LEDs (interior lighting) - Car 2 & 3 (each)
FD-R Basic function decoder (Tams Elektronik).
Two 220uF capacitors (440uF total per car).
Custom light board with 3 LEDs (interior lighting). - Car 4 (last car)
FD-R Basic function decoder (Tams Elektronik).
Two 220uF capacitors (440uF total).
Custom light board with 3 LEDs (interior lighting).
2 red LEDs for last car signal.
I won’t be detailing the work involved (suffice to say, it took a lot of free time).
Here are a few pictures of the installation of the sound and lighting in the coaches, and of course, check out the video above!
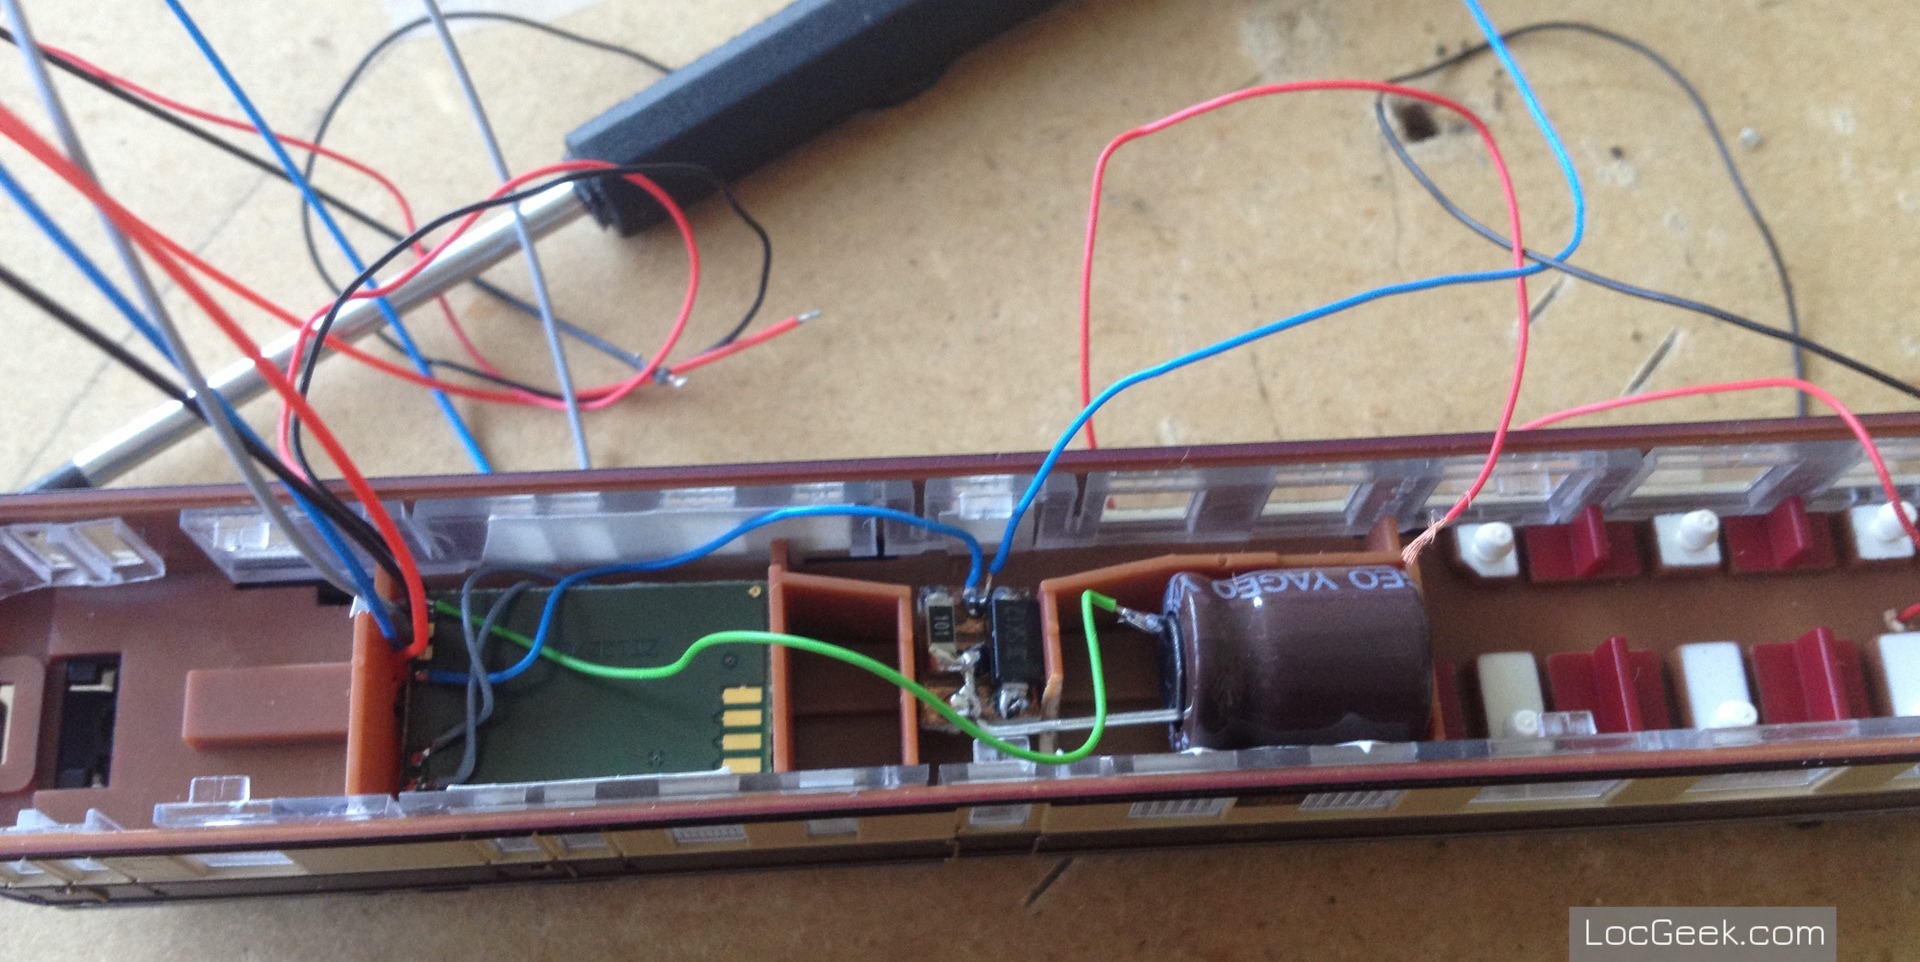
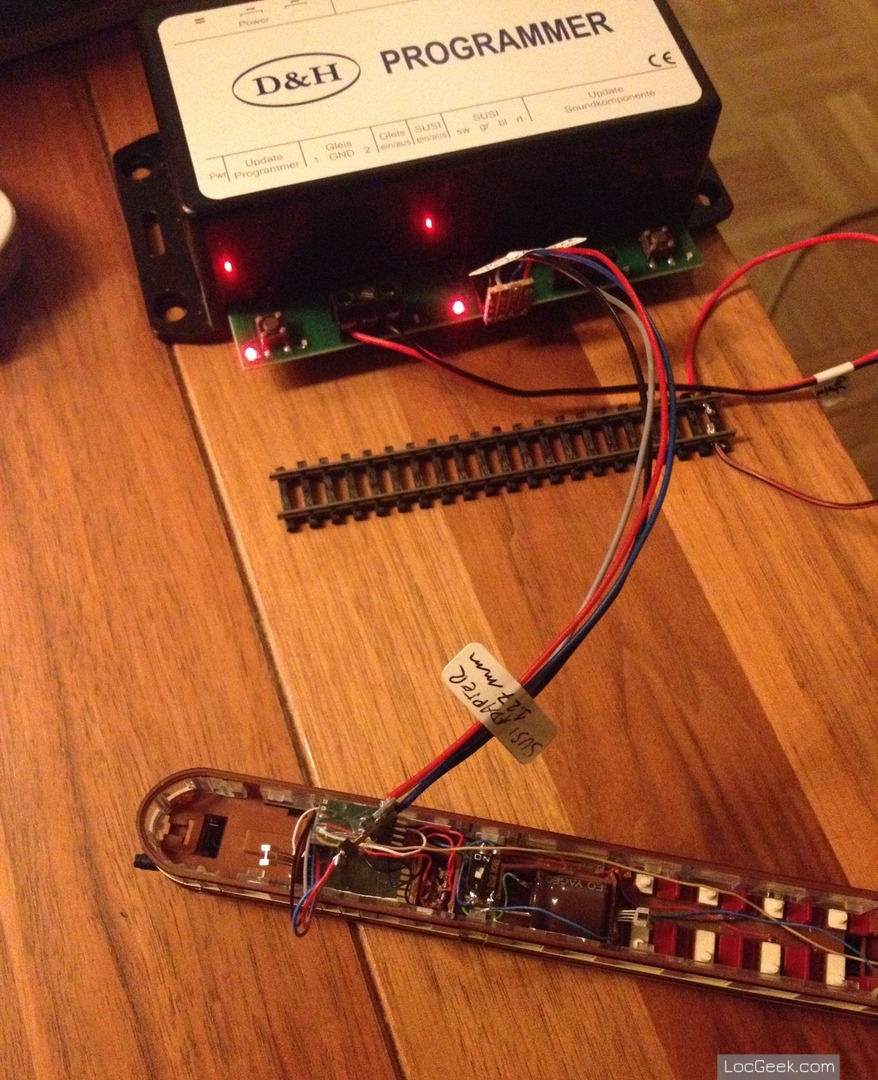
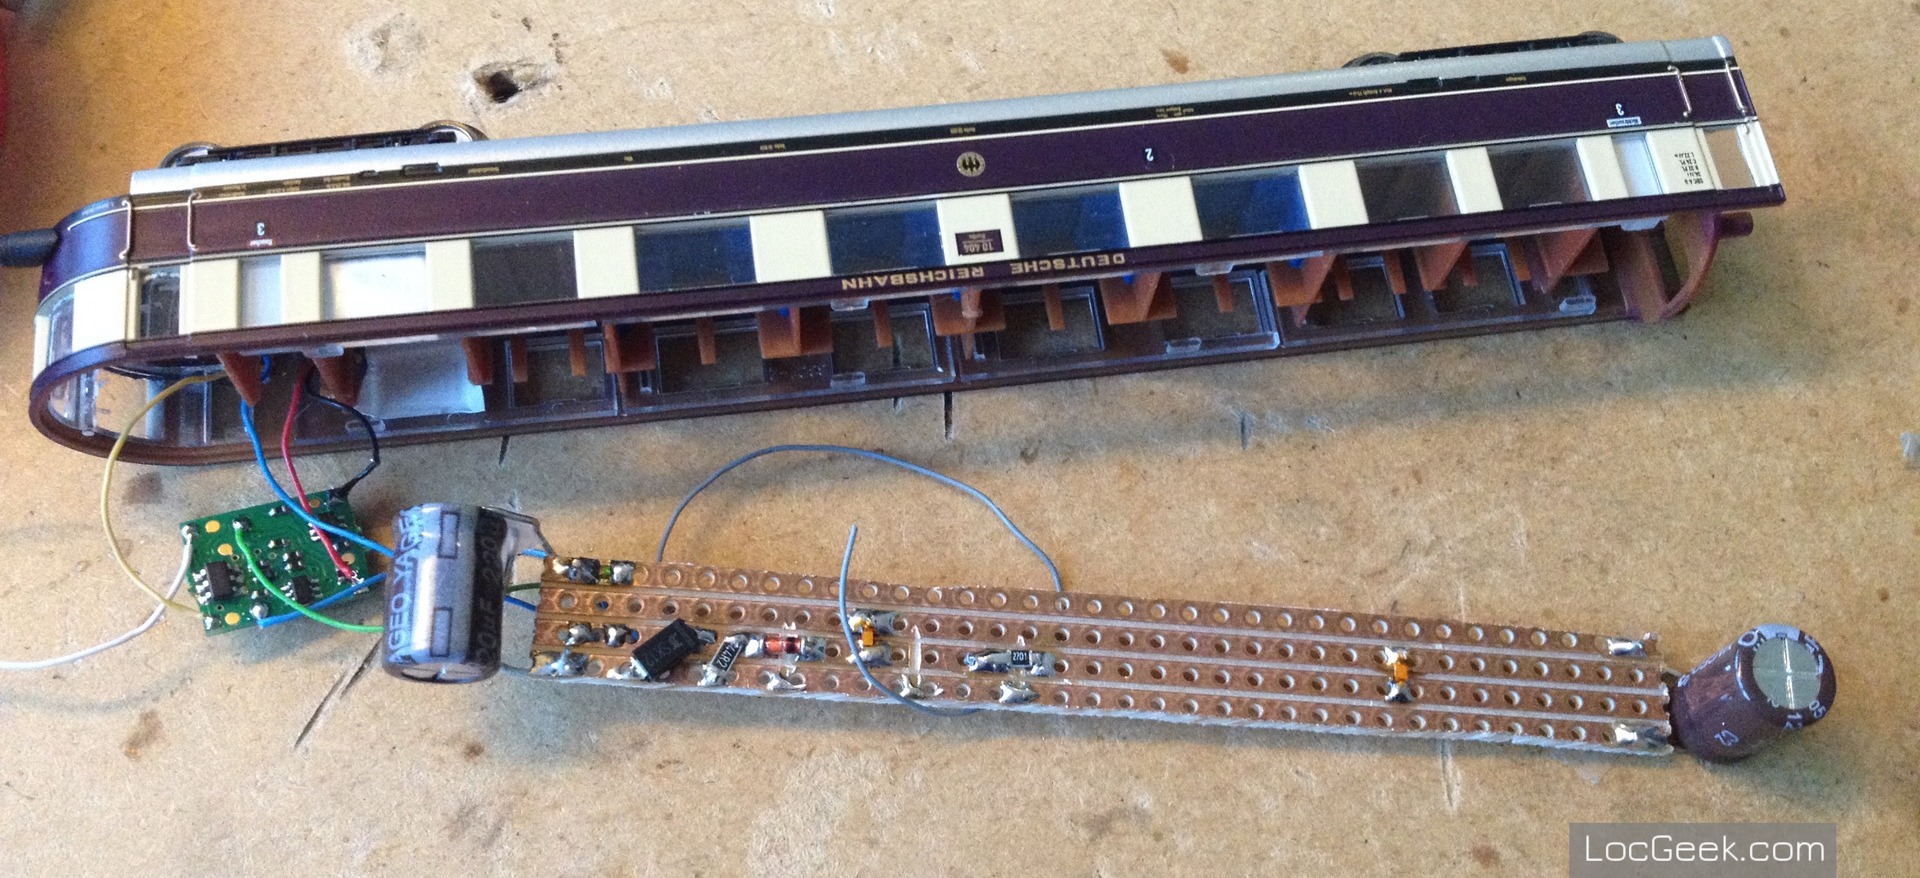
Car 1 (sound car):
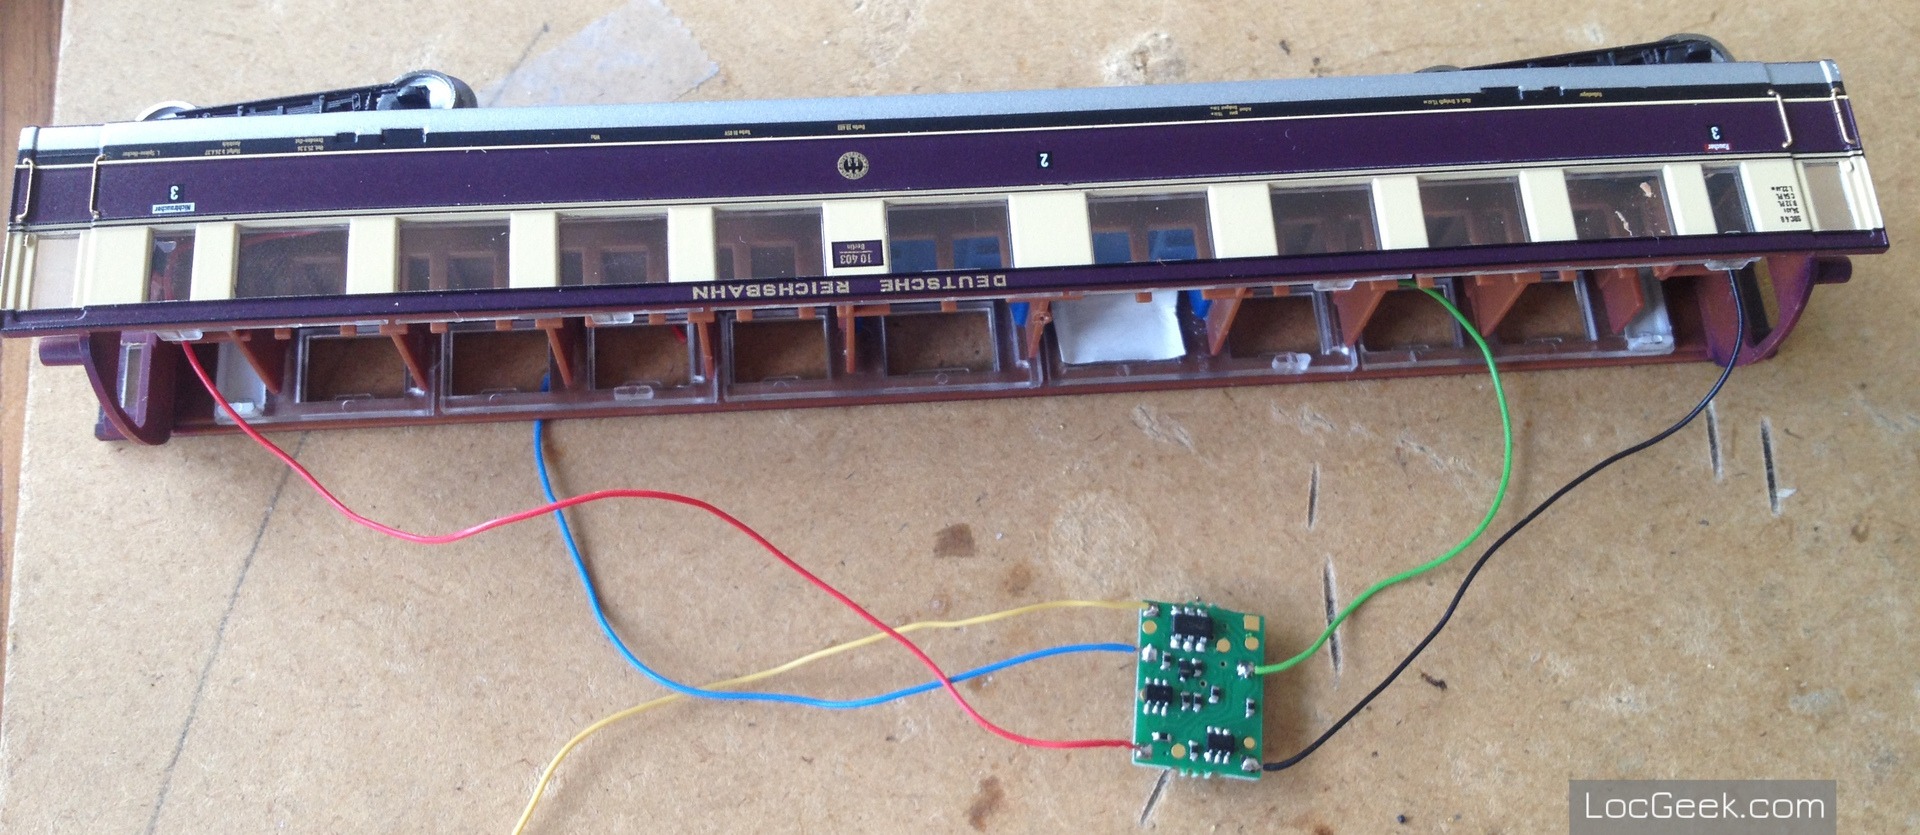
Cars 2 & 3 (just interior lighting):


Car 4 (interior lighting and end of convoy red lights):


Thanks so much for posting of the conversion. I also purchased this set and was curious about adding sound but with the limited space in the loco I doubted a speaker could be a added to it. However, it seems like you did what I did with the very small Bachman 4-4-0 American where there as no room for either a decoder or a speaker — I put the decoder in the first car — however no sound at this point. I’m curious in the HW, did you continue to use the NEM connector in the local and simply run wires to a speaker in the first car? That would mean running the two speaker wires from the loco to the first car. Whether you did or didn’t, if you took any photos of that part of the process, and how you solved the problem, I’d be most grateful.
Hi David, thanks for the comment.
I installed everything for sound in the first car, there is no cabling between locomotive and car, and no cabling between cars (all my personal experiences in that respect is that it’s ugly, hard to do…and impractical).
The locomotive has a standard DCC decoder. For the sound car I added a cheap function decoder with a SUSI interface + a SUSI sound module, and of course a speaker. I used the Doehler & Haass FH05A+SH10A combination, cause it gives good results for a low price. But any sound option you’d like would work.
In fact, the most annoying this with this train is actually to install power feeders on the car wheels…
Good morning Pierre and thanks again for the information and very interesting details about he sound. In order to control the sound then, do you treat the sound decoder as a part of a consist with the local controller? I’m not familiar with the using a separate controller for sound and would appreciate your experience on making it work. Thanks again!
Glad to be of help David!
Yes, you could use the sound car decoder as a consist with different addresses. In this specific case however, my Henschel-Wegmann will always be attached as a convoy; so I have simply programmed both the locomotive decoder (DH05C) and the sound car function decoder (FH05A) with the exact same DCC address.
What’s important if you go for such a solution (totally separate decoder for the sound car), is to choose 2 decoders from the same brand for both the locomotive and the sound car. This is because all the driving settings (such as speed curve, min speed, max speed) must ideally be exactly the same on both decoders. This way, the decoder of the sound car behaves exactly as the locomotive decoder: it has no motor attached, but it sends the appropriate sound commands to the sound module via the SUSI interface.
Thanks such much Pierre. I’ll let you know how i make out. Dave